TL;DR
Hey, it's awesome that you're interested in how I put together this portfolio!
I'm guessing you liked it, or you wouldn't be here,
right? 😉
Now that you’re here, you might be thinking,
01. Why did I create this portfolio in the first place?
Well, I believe in the power of sharing what you've built and being open about your work. It not only gives your work some well-deserved exposure but can also inspire and help others with their own challenges. With that in mind, I decided to put together a digital garden, where I've compiled everything about my personal and professional life. It's like getting the best of both worlds, but now you might be wondering, should I really spill all my secrets? anyhoo, I'm gonna do it anyway. 😁
Absolutely, as a web developer, people naturally have high expectations, right? And well, I'd like to think I've created a pretty decent portfolio. What's your take on it?
But enough about the reasons, let's dive in,
02. What's in it for you, right?
Well, any project, whether it's technical or not, follows a certain life cycle with different phases:
- Planning
- Design (How to make it look good)
- Development (Getting stuff done)
- Deployment (Sharing the awesomeness)
Sure, the exact phases can vary depending on the project, but in the upcoming blog, I'm gonna spill the beans on my journey through all these phases. My thinking might be a bit different, but my hope is that you'll discover something new and valuable along the way.
Now that you know what's on the menu, let's dig into the good stuff
03. Timeline
Ah, the timeline for this project, well, let's just say it was longer than expected. Life threw a few curve balls my way. I mean, I was juggling with GRE and a full-time gig as a software engineer - talk about a busy schedule! And we all know how designers and front-end folks are, right? We never seem to be entirely satisfied with our designs, so there were countless revisions on that front.
As for the technical side of things, I was diving into Gatsby while building this portfolio, and let me tell you, it came with its fair share of challenges.
But you know what they say, the best way to learn something is to actually implement it. And when you've got someone waiting to use what you're creating, it adds that extra bit of pressure that can be a real motivator.
Now, here comes the juicy part. Well, for some, this might be where the real story begins!
Let’s talk about,
04. Planning
Alright, let's talk about the planning stage, but let's put it in terms of making a homemade chicken wrap because why not? So, imagine you're craving a delicious homemade chicken wrap, and you don't have a raccoon, Um I- mean Doraemon(Don’t tell him that I have said raccoon) to magically get that for you. What's the plan, you ask?
- First things first, research! You want to know how to make that perfect chicken wrap.
- Next, figure out the ingredients you'll need.
- Then, roll up your sleeves and start cooking.
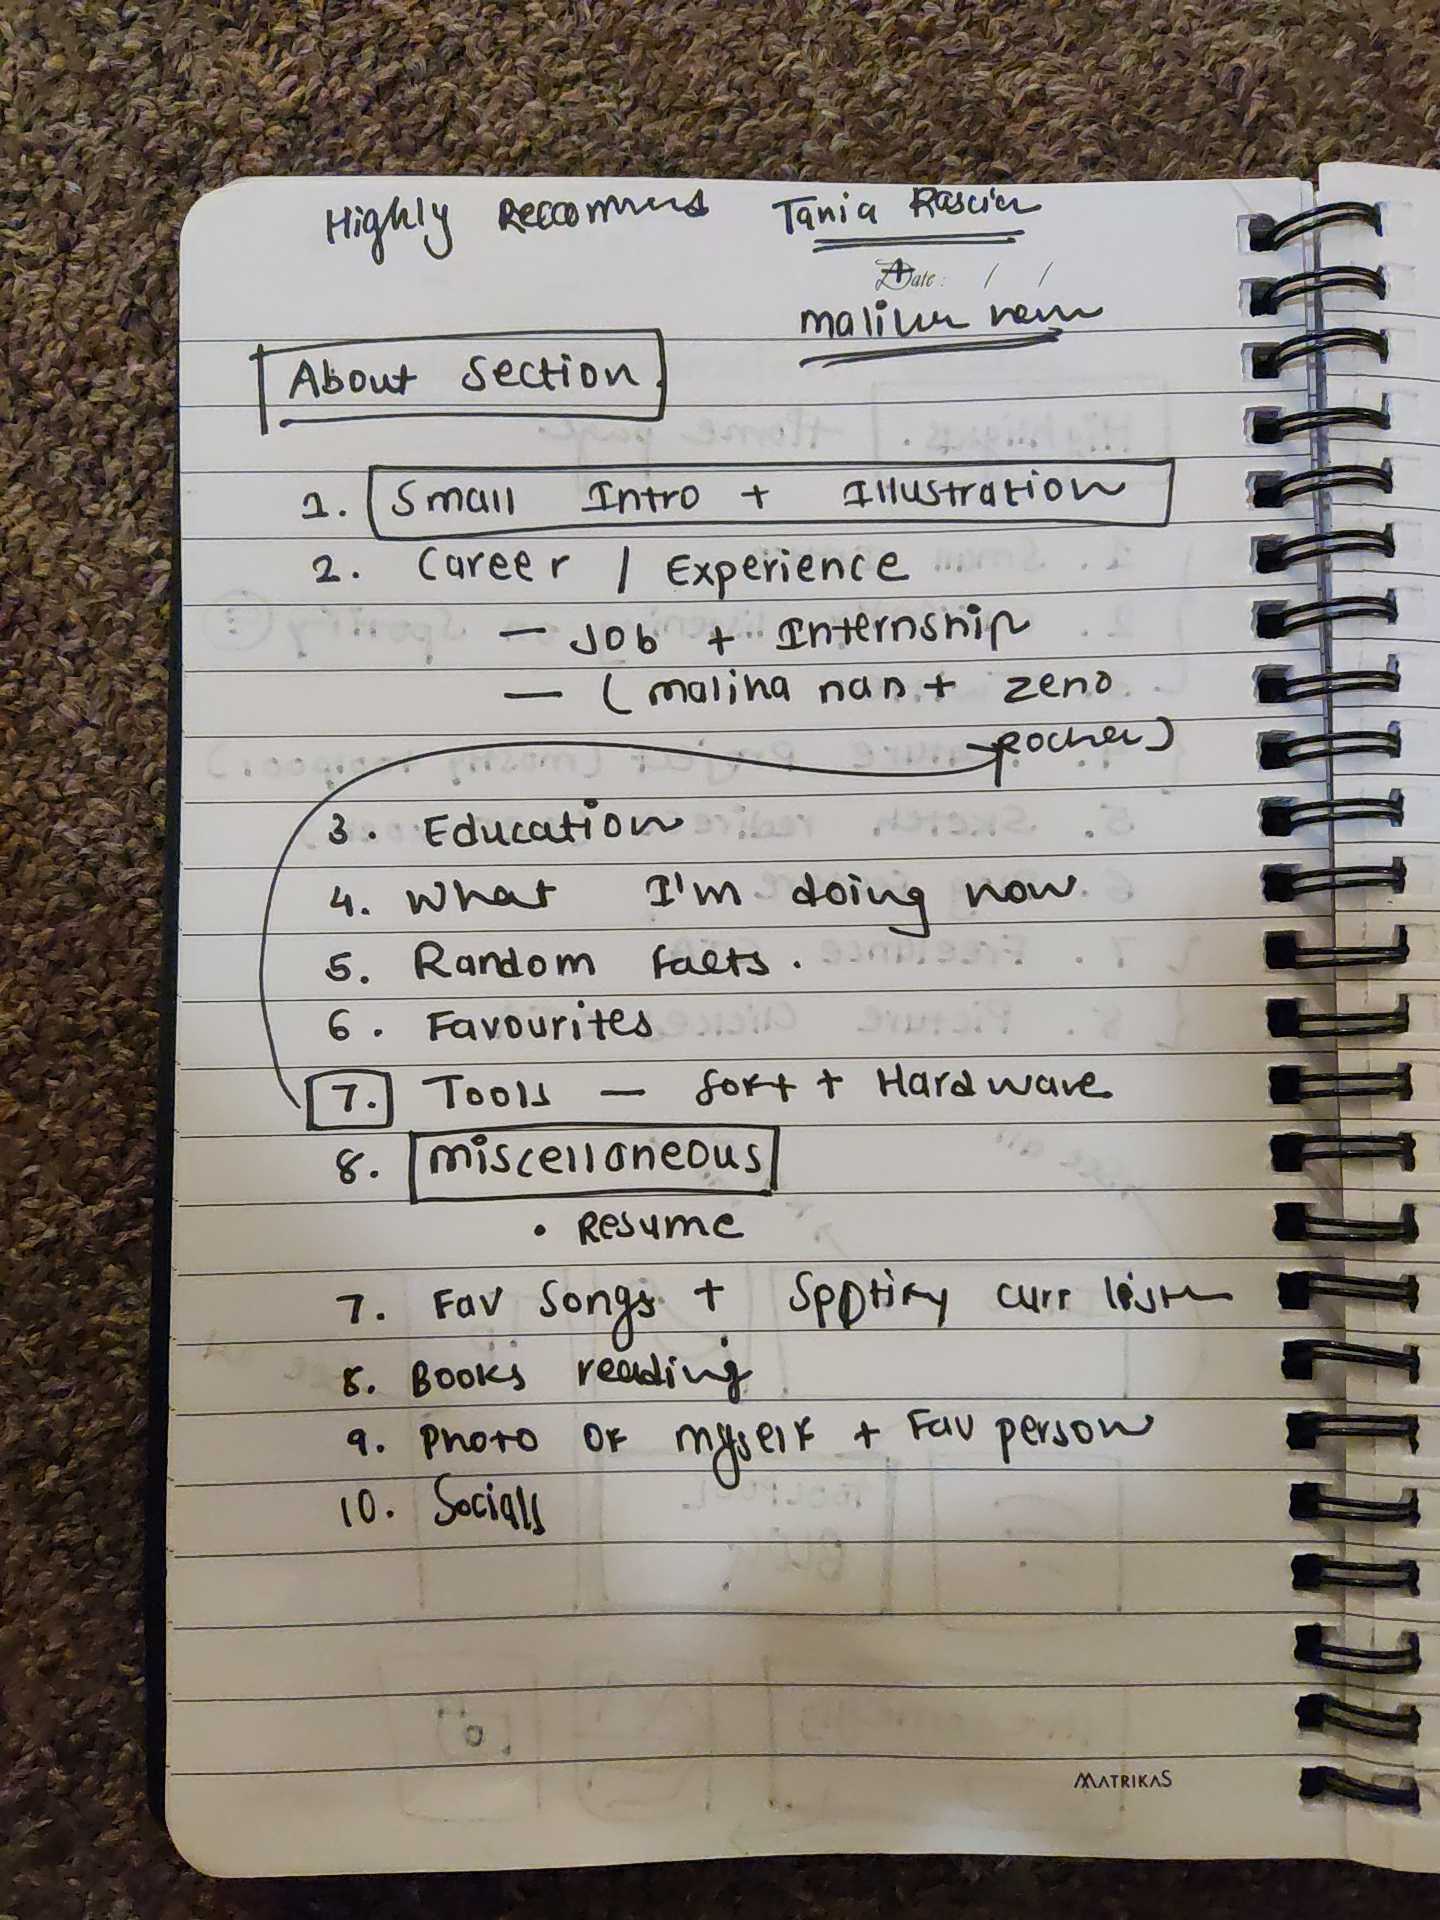
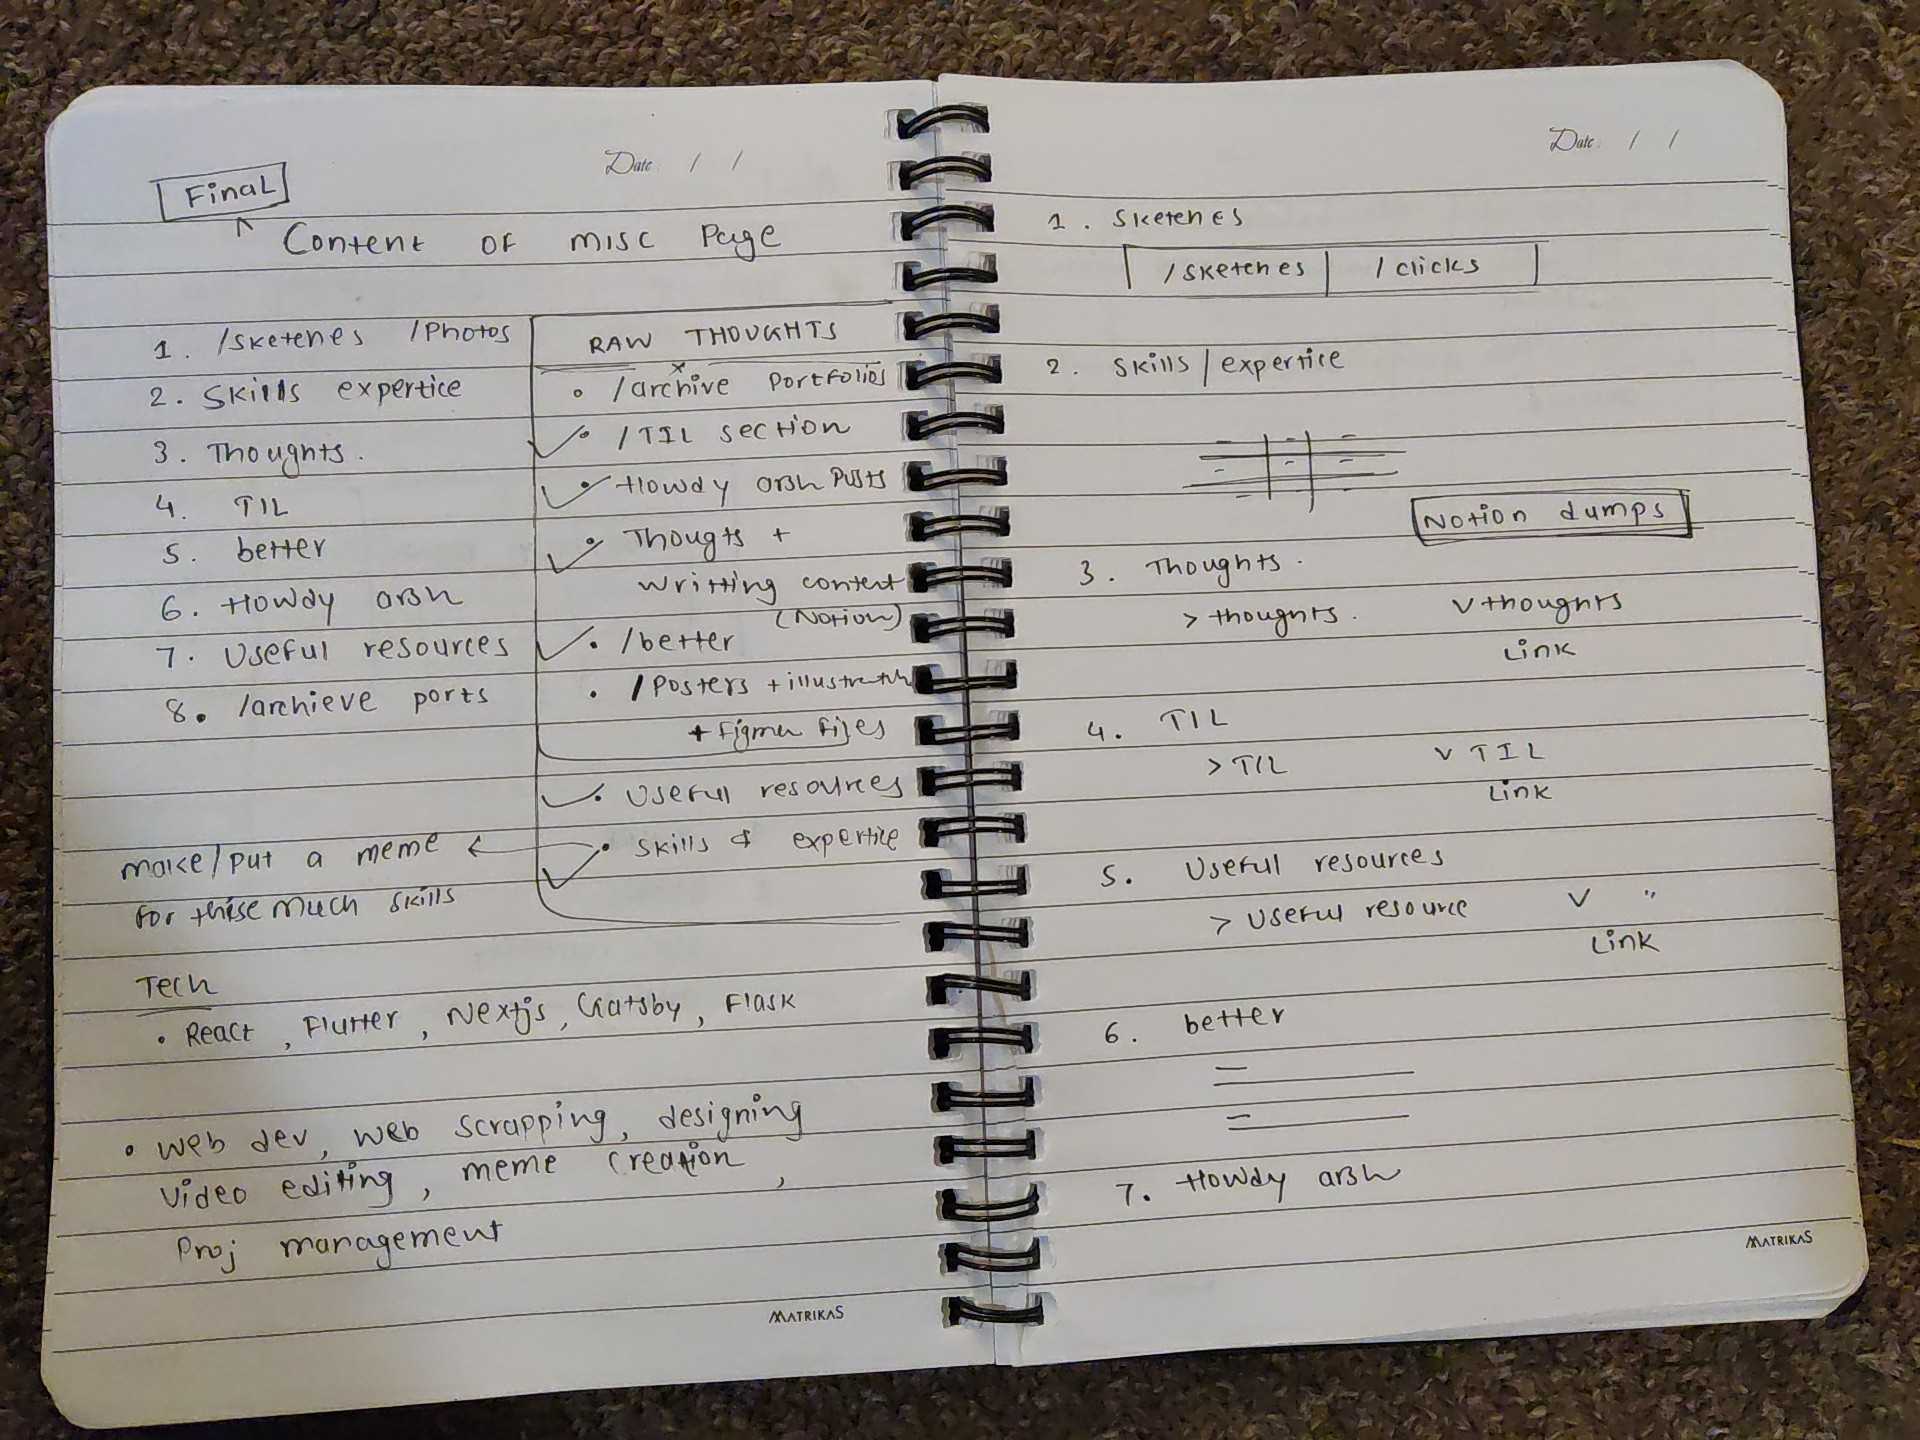
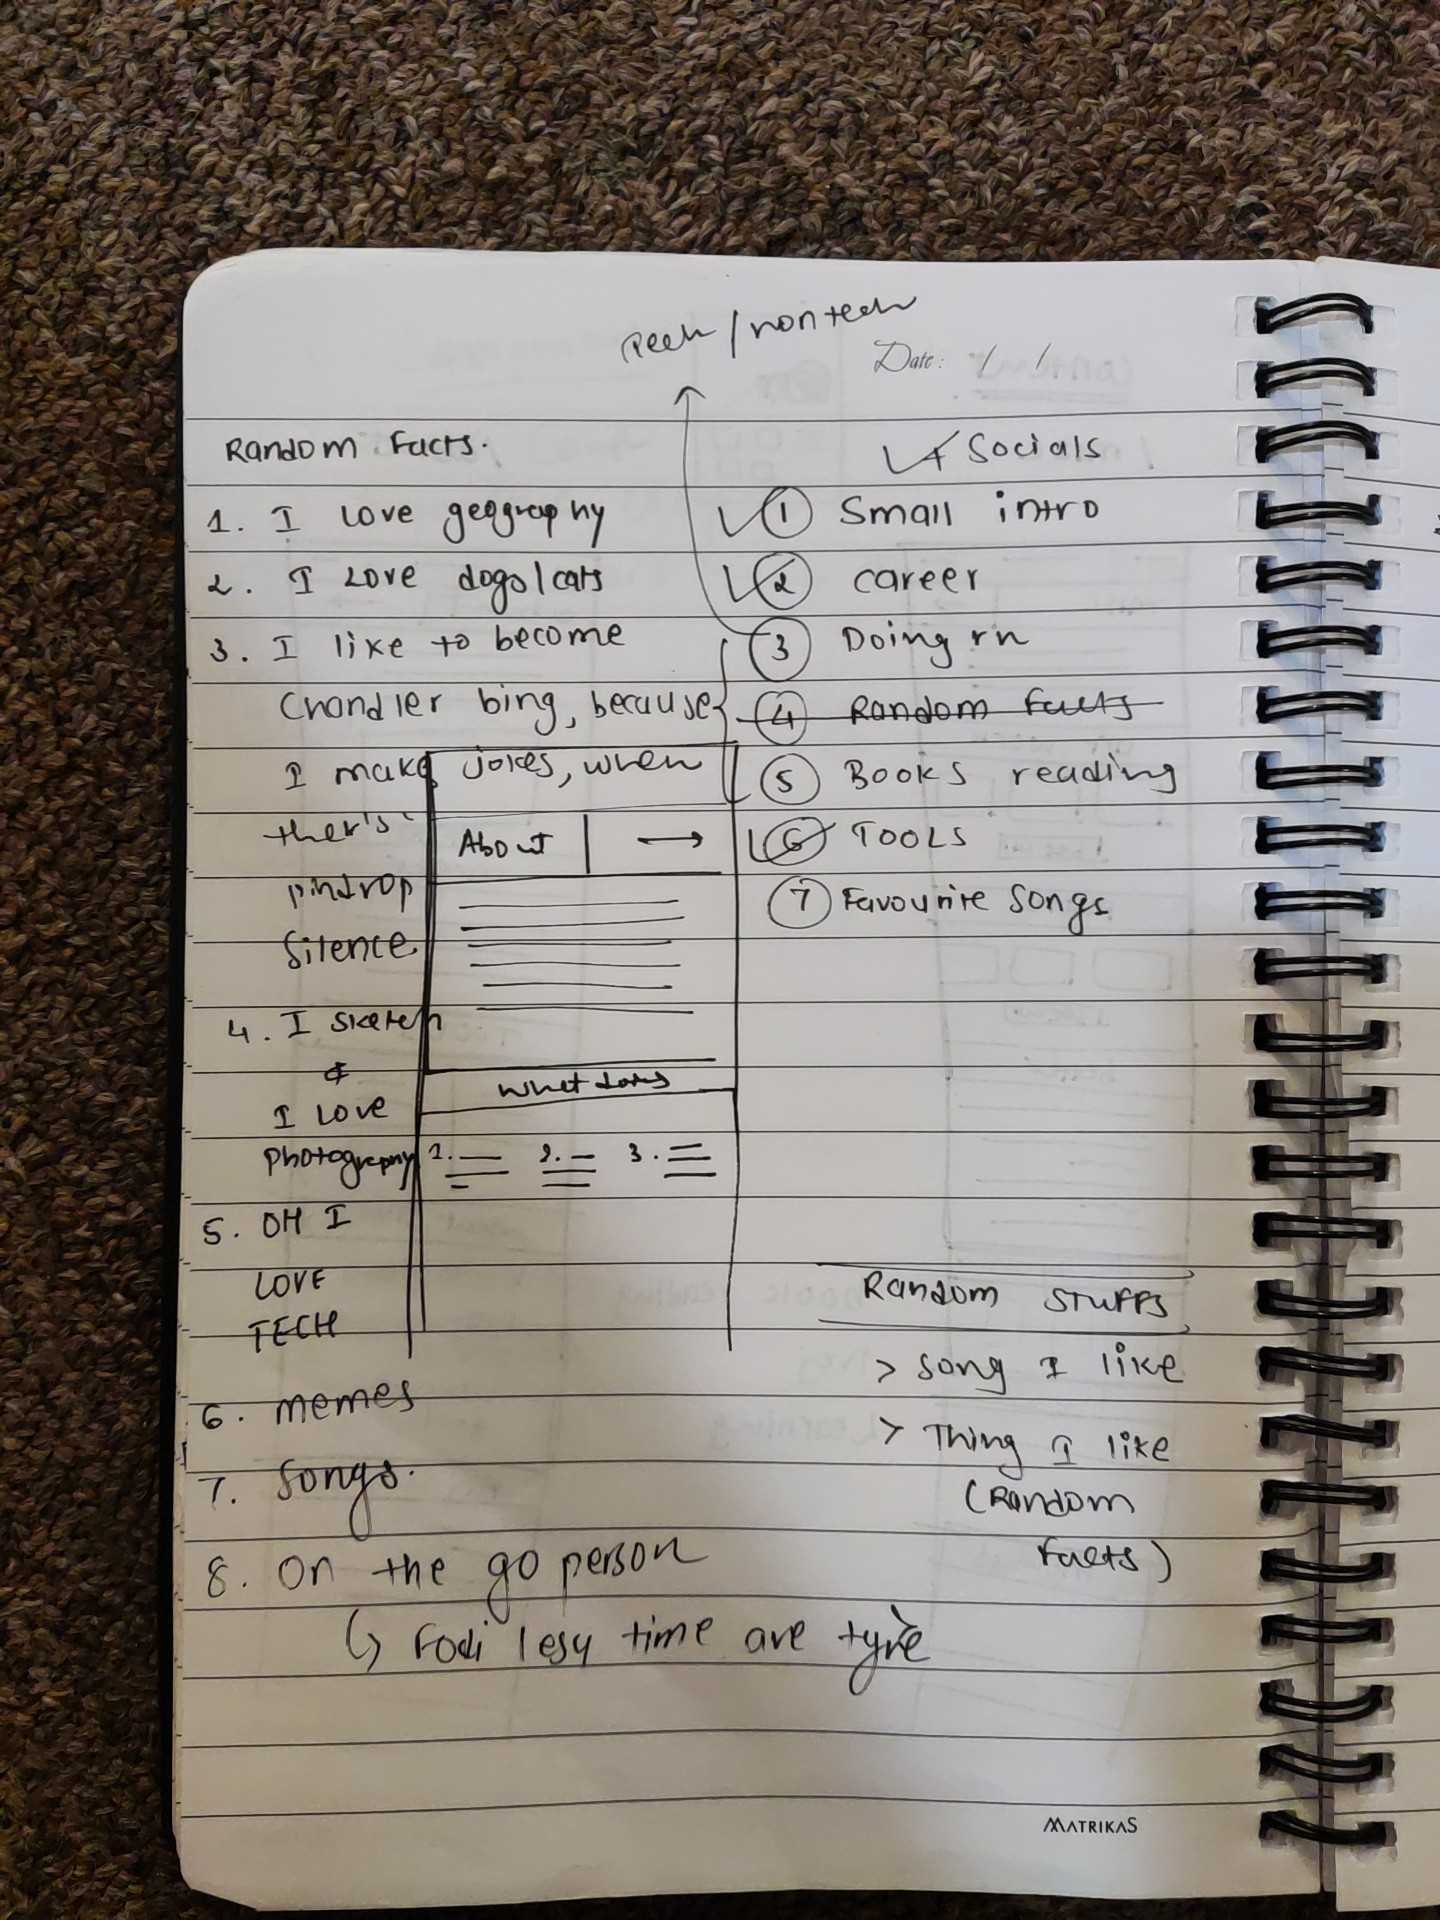
So, what's the point of this crazy analogy? Well, it's all about the need for research! In my case, I began by checking out other people's portfolios and making a list of what pages and content I should include. I also gathered all my work-related and personal info that I wanted to showcase. Oh, and let's not forget about analyzing the standards and brainstorming ways to stand out from the crowd. That's how I did my research and got my portfolio of ingredients cooking.
And remember, when you're making any project, writing things down is often the best way to kick-start it

Extra Photos
Now that we have a base, we can shift the focus on
05. Design
Alright, time to talk about the design phase. Imagine me, diving headfirst into tons of web inspiration websites, scouring the internet for different website designs, trends, and other people's work. And here's the key point, folks: taking inspiration from others isn't stealing. I mean, who wants to reinvent the wheel, right?
So, after my inspiration hunt, I set some ground rules for my design system, and it went something like this:
- Should be boxier. SHARP edges. lines, tons of lines. Basically Brutalism Style.
- Noise background. I mean of course it looks sick!!!
- Trendy yet soothing colors.
- Icons with a sketchy vibe, matching the background color.
- Serif fonts for headings and San Serif for content
- Ogg ~ Serif
- Poppins ~ San Serif
- Light and Dark mode
- No crazy animation, simple prints
- Of course, it had to be responsive.
- Toggled features to hide lengthy content.
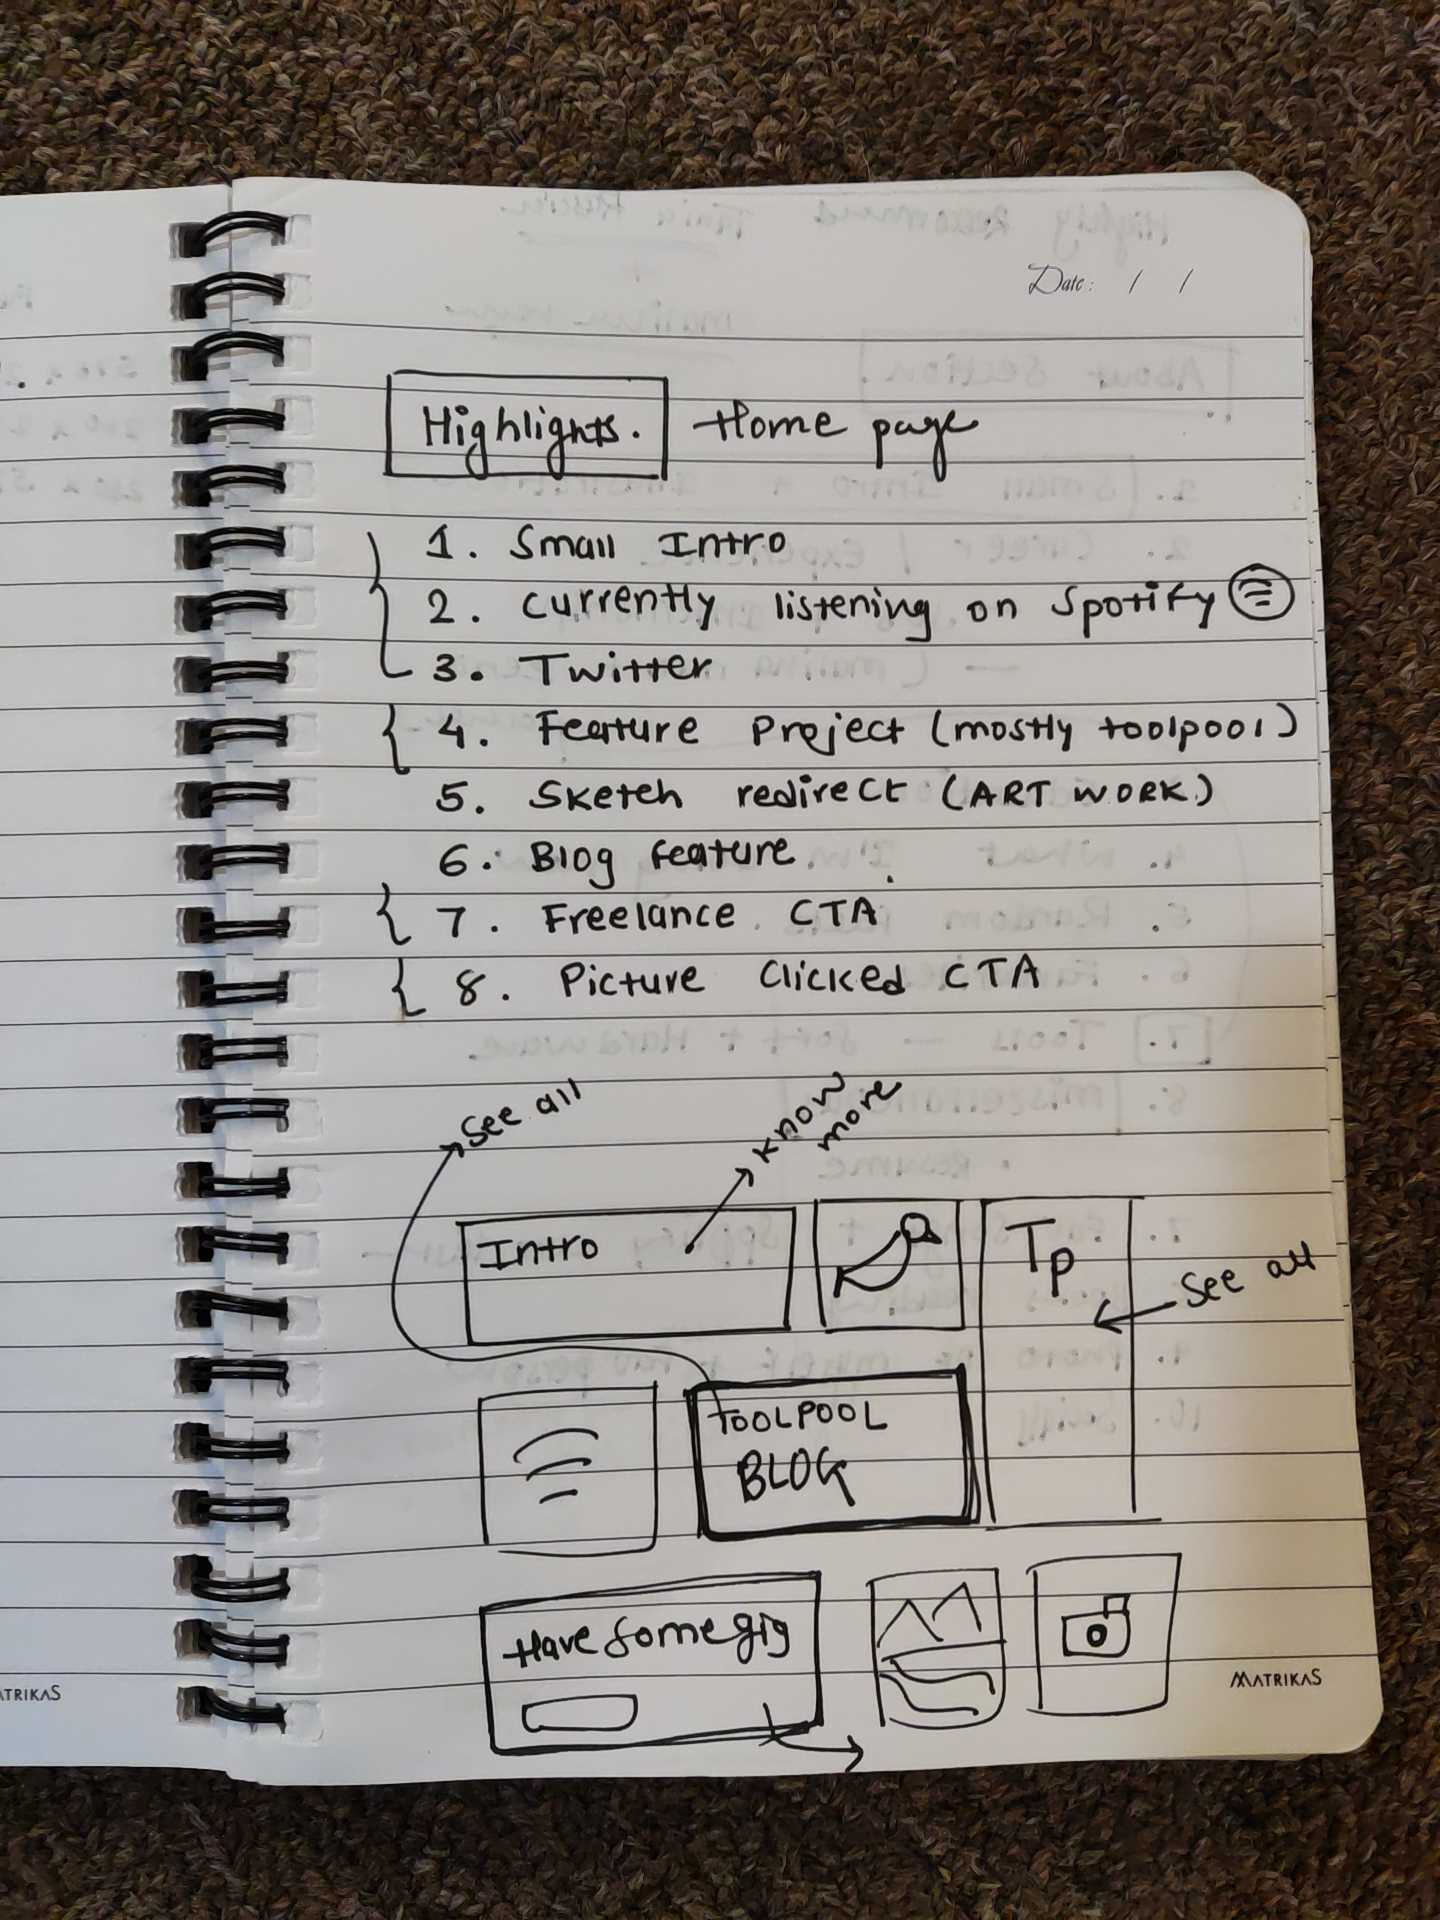
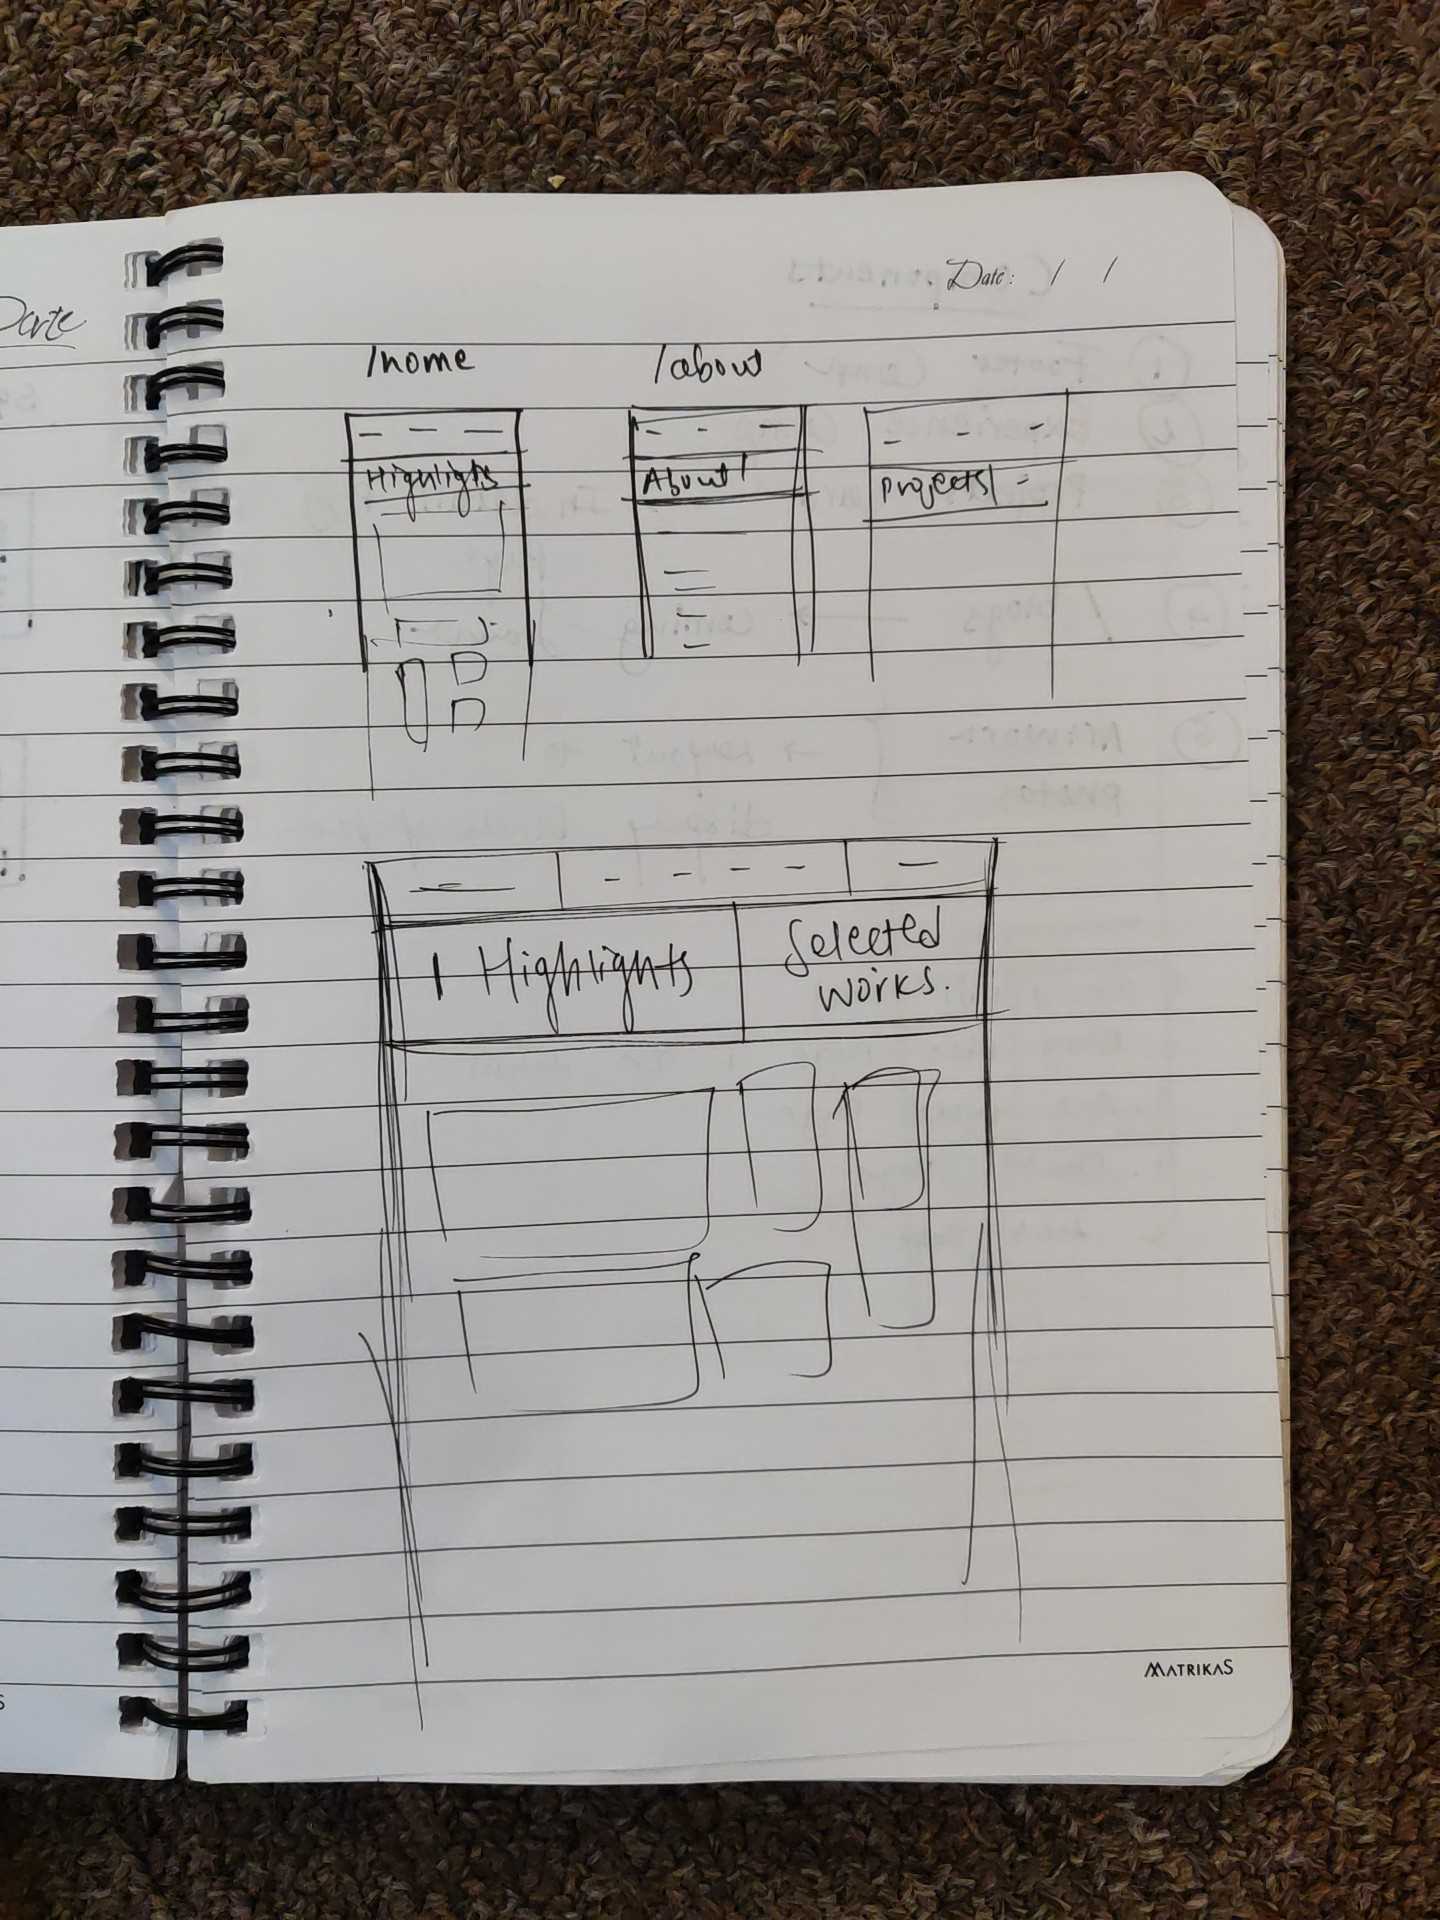
- A super catchy home page with a grid layout.
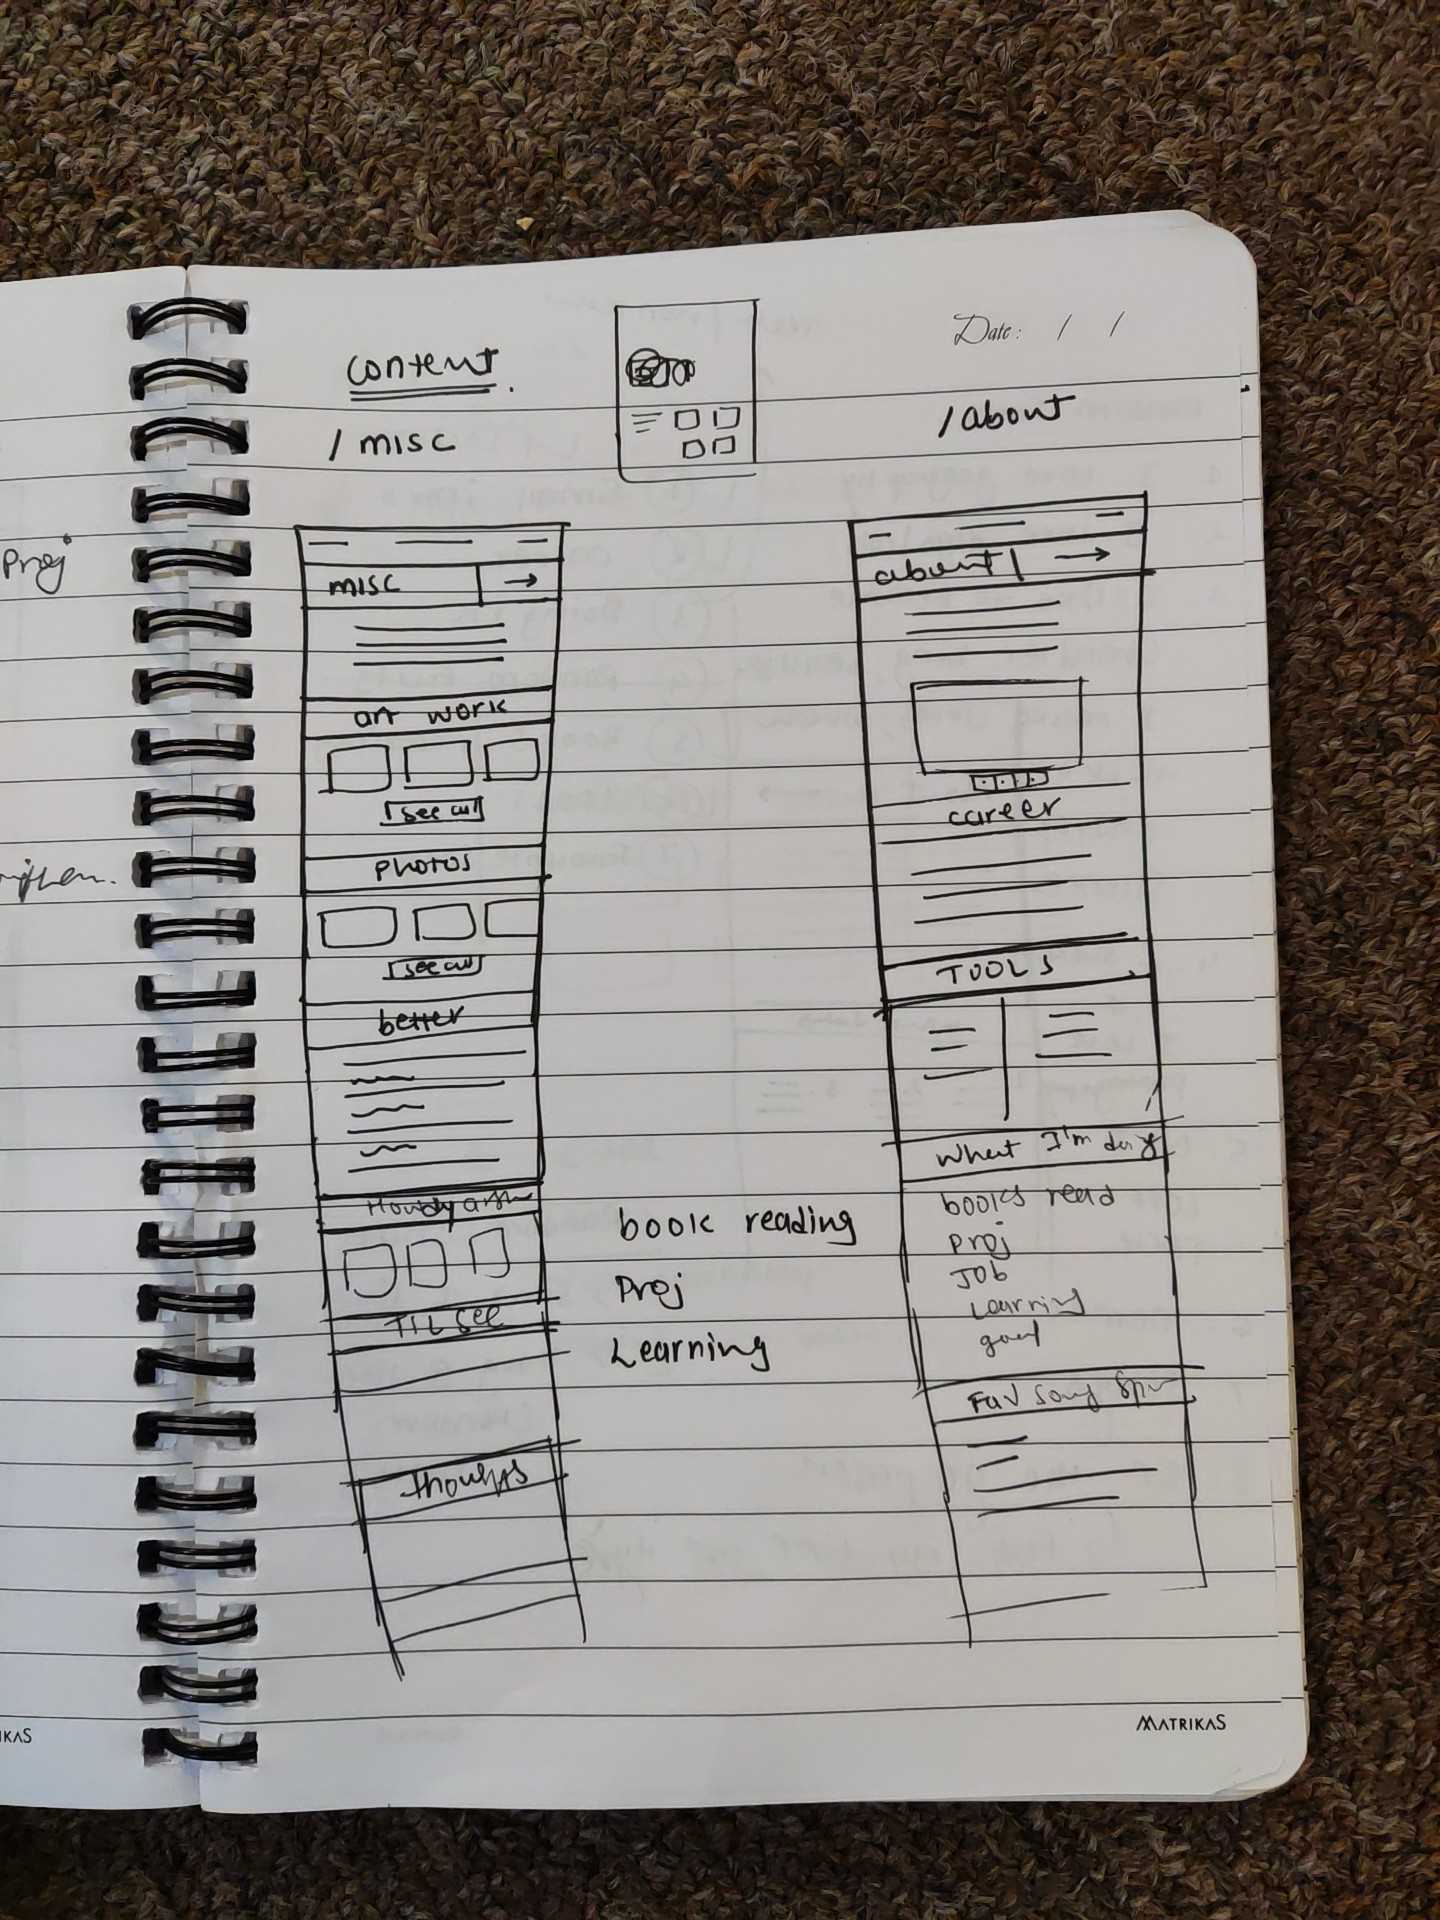
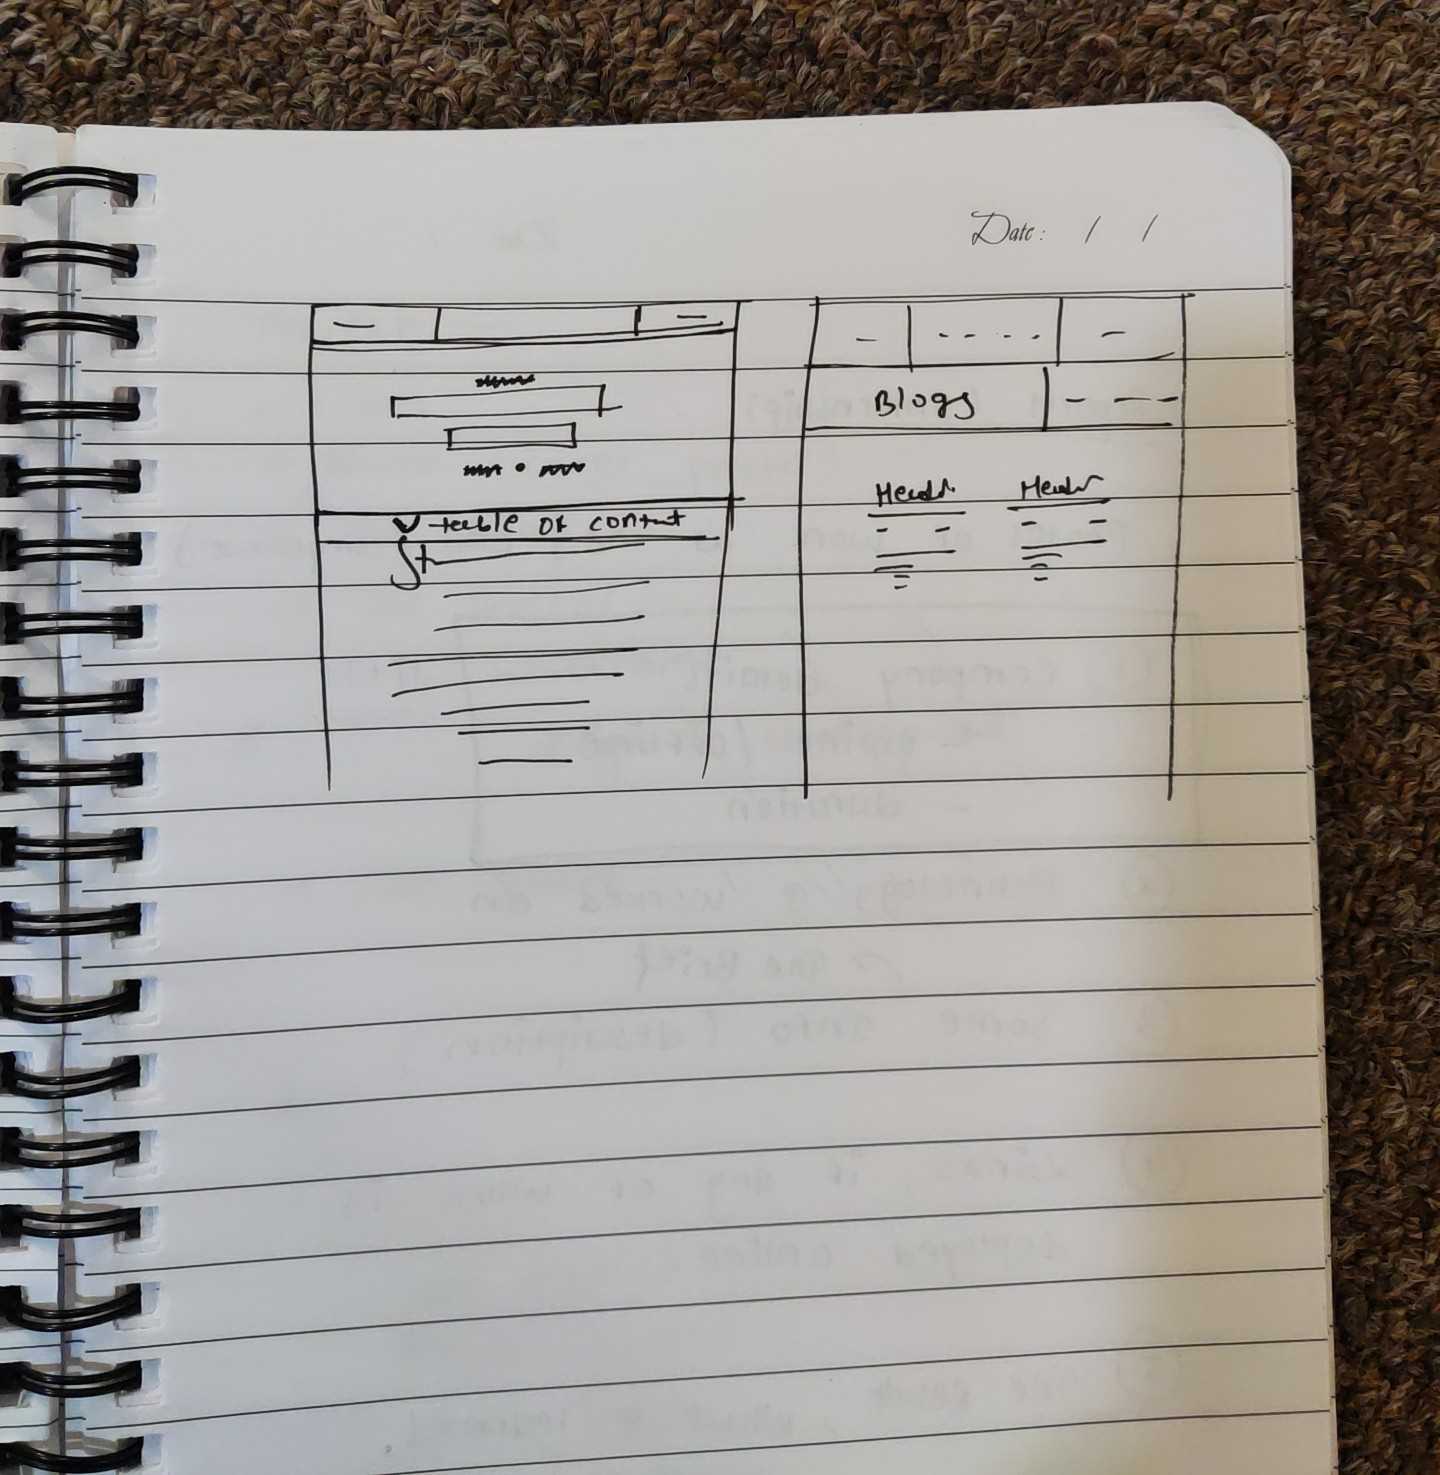
Now, onto the next part - figuring out how to lay out all this goodness on the pages in a visually pleasing way. Enter the trusty old "Wireframes." I whipped up layout designs for each page, giving me a rough picture of how my portfolio should look.
Extra Photos
With these rough layouts in mind, I rolled up my sleeves and started designing the individual components in Figma. You know, things like the navbar, card components, buttons, and all that jazz.
So, I had everything raw and ready. I just had to cook it, so here comes the,
06. Development
Picture my webpage at this point as blank as a... well, I can't think of anything clever, but you get the idea.
So, for this project, I had to nail down my tech stack, and here's what I settled on:
- Good old React, but with a twist - I went for Gatsby.
- Utilizing GraphQL for content mesh.
- Styled-Components for all that visual pizzazz.
- TypeScript for that extra layer of type safety(I used
anyat multiple places, will fix in v2.0🤓) - Hygraph to handle the content management(mostly images).
- Local files (like .json) for storing small bits of static info.
- Figma, my trusty design companion.
- Google Analytics, Hotjar, and Clarity for keeping an eye on things.
- Git and GitHub to keep everything in check with version control.
And with that stack, it was time to bring my blank canvas to life! 💻🚀
1. Why Gatsby
Gatsby is a modern web framework that uses React and GraphQL to create fast and SEO-friendly websites and web applications. Gatsby generates static HTML files, resulting in faster load times and improved SEO. It has a good plugin ecosystem and provides Image optimization out of the box.
Now, sure, all this tech talk sounds good, but ultimately, the choice of framework is a bit like picking your favorite pizza topping. You could go with Next.js, create-react-app, or even the vintage vanilla JS if that's your jam. I, personally, was smitten by GraphQL and its versatility, so I thought, "Why not use Gatsby for my portfolio and flex the GraphQL content mesh that it provides?
2. Styled-components
Ah, the age-old question: should I use a CSS utility library or create my styles from scratch? I boldly chose to go without the safety net of Tailwind or Antd. Will society accept me? Well, that's the real mystery. But kudos to me for my bravery! I went all in with Styled Components.
With Styled Components, we can write CSS in JS. It gives too much control over your styles and re-usability. You should definitely try if you haven’t.
3. Hygraph
Now, here's where things get interesting. Most of your content is chillin' in static files. But when it comes to photos, well, they need some space, and managing them manually can be a headache. Enter Hygraph, the superhero that uses GraphQL behind the scenes to wrangle those images and make your life easier.
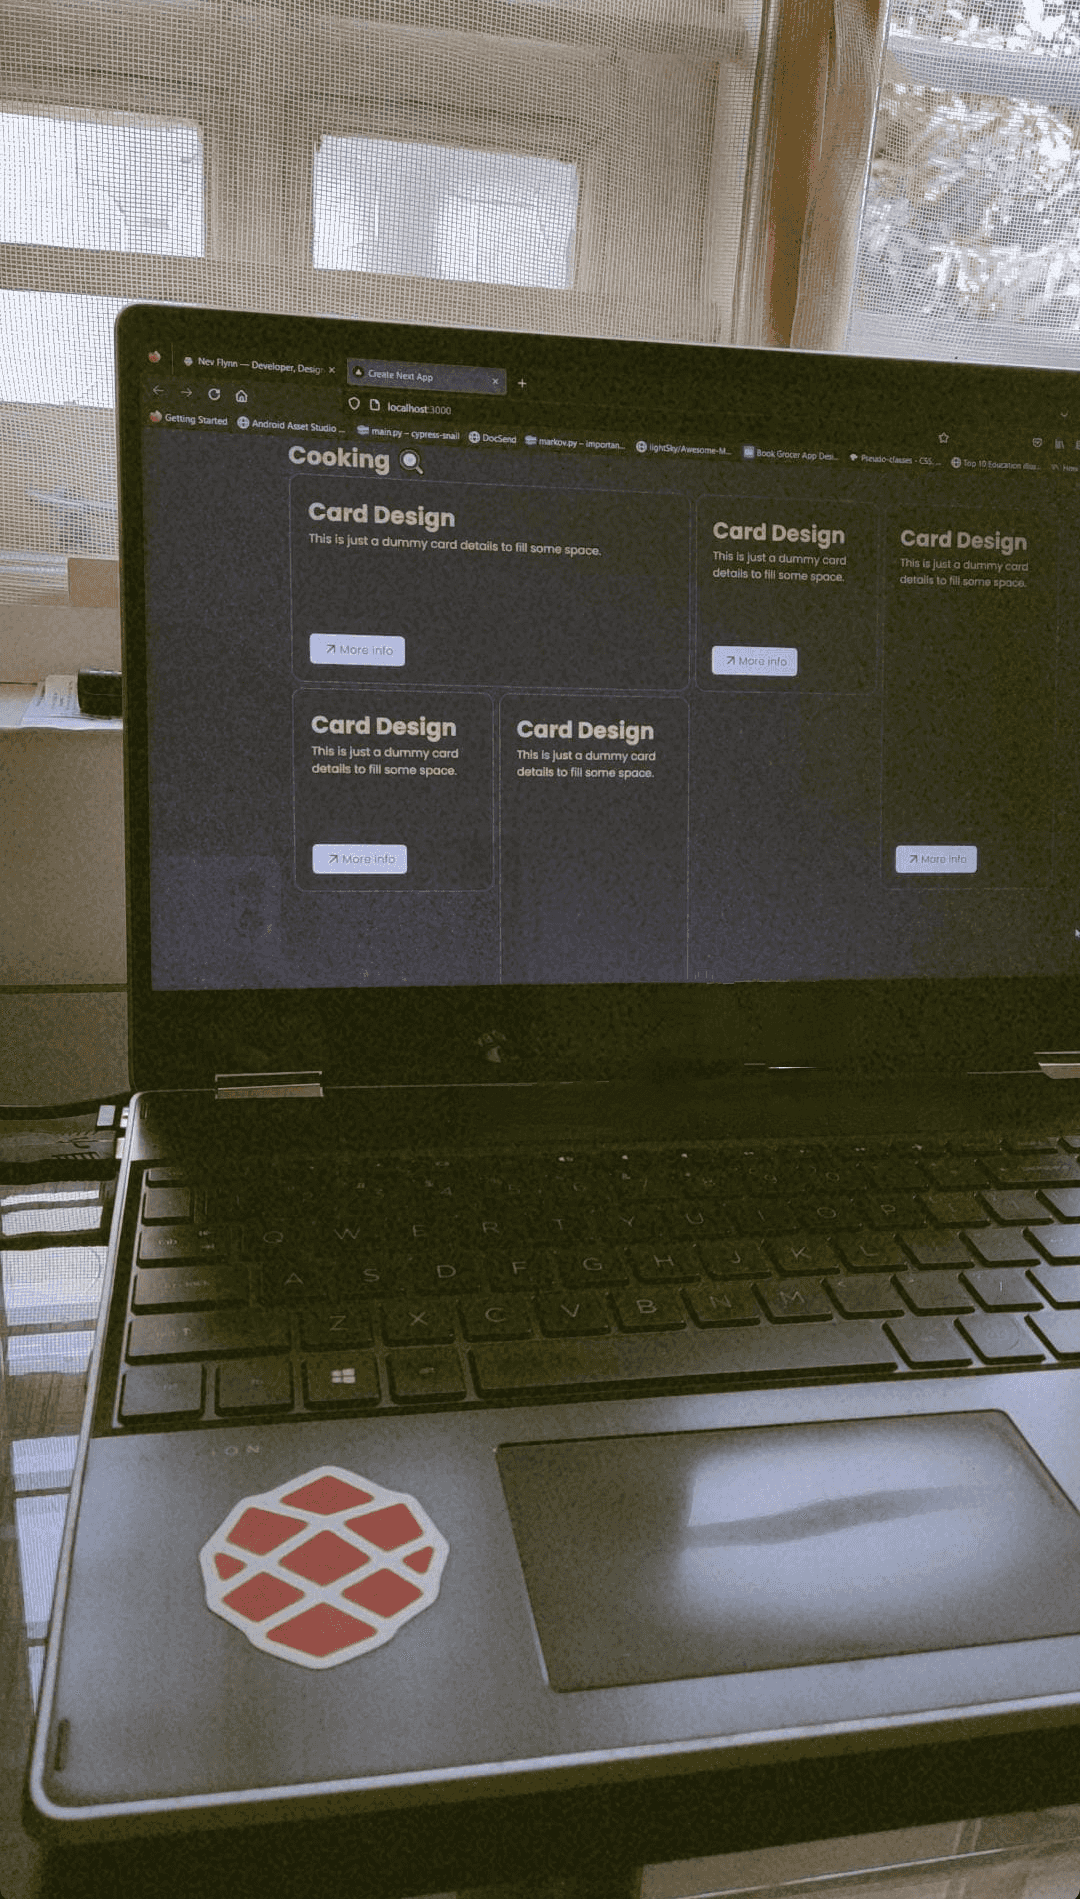
4. MDX
Oh, and who doesn't dream of having their own blog site, right? Mdx swooped in to make your dream come true, allowing you to work with React components like a wizard. You can pretty much do anything with it, like this...
Pixel Editor
Enter Panel Dimensions
I have all the control😎😎 I can render any custom component in the BLOG!!! Pretty awesome what do you think?
There you have it, a tech-tastic journey explained with a sprinkle of humor. 😉🚀
07. Deployment
The grand finale – deployment! After all the hard work, I hoisted my website onto Vercel, a nifty platform for hosting static websites. Plus, I gave it that personal touch by connecting it to my very own custom domain name.
Oh, and here's a pro tip for all you students out there: sign up for GitHub Education, and you might just snag a .me domain name for free for a whole year.
And since we're talking about websites, you can't forget about SEO. That's the secret sauce for getting noticed on the web. Make sure to sprinkle in your title, meta tags, keywords, and Open Graph tags to make your site shine in the search results. 💫🚀
08. Useful links and libraries
1. Links
Godly - Web design inspiration
GetCSSSCAN - Box shadow generator
2. Libraries that I have used
In the end, let's not forget this golden rule: your portfolio is your playground. Be the Picasso of your digital garden, painting it with your unique style and personality. Most importantly, savor every moment of the journey. Build with 💜😄